When Is It OK to Capture?
Most chess blunders are captures.
Not opening misjudgments. Not positional drift. Not endgame technique failures. Captures — specifically, captures executed without the right clearance. Walk through any database of failed games at the 1400–1900 ELO band and the pattern is monotonous: a player sees a piece they can take, takes it, and loses to a tactical sequence that was visible the whole time.
The question “should I capture this?” is the most consequential in-game decision an adult improver makes. It comes up dozens of times per game. It carries asymmetric risk — the upside is bounded (winning material), the downside can be unbounded (losing the game).
And yet nobody teaches it properly. The standard advice is “look before you leap” or “check for tactics first.” This is correct in spirit but operationally useless. What exactly should you check? In what order? Why that order?
The Dimitrov Method gives a precise answer. The Capture Clearance Protocol is a structured three-check sequence that determines whether a capture is permissible. It’s derived from a single first principle — the Unified Outcome Theorem — and runs in under five seconds with practice.
This article walks you through it.
Why Captures Are Harder Than Checks
Before the protocol, the underlying asymmetry — because once you see it, the protocol’s structure becomes obvious.
Both captures and checks are executions. A check (L1) is an execution on the king-track; a capture (X) is an execution on the capture-track. They sit in the same structural slot in the Method.
But they are not tempo-equivalent.
When you check the opponent, the rules force them to respond. They must play a Capture, Avoid, or Block (CAB). Your next move is implicitly yours to direct — you can recover from a marginal position because the next exchange is your tempo.
When you capture a piece without also giving check or creating a threat, the opponent owes you nothing. They move freely. If they had a tactical sequence loaded — a mate-in-2, a winning attack, an L4## — they execute it now. The piece you took is small consolation when you’re being mated in three moves.
This is why “look before you leap” isn’t enough. The L1 clearance bar can be loose because you’ll get a tempo to recover. The X clearance bar has to be tight because you won’t.
The Three Checks, In Order
The Capture Clearance Protocol is three checks, executed in strict order. The capture is permissible only if all three pass. The order matters — skipping ahead causes the most common skip pattern.
Check 1 — Mate-Tier Clearance
Question: Does the opponent have an against-self threat that would mate inside your calculation horizon?
Specifically, does the opponent have:
- An L1 (check) — currently checking you, or about to?
- An L2# (mate-in-1 threat) — one of their next moves mates?
- An L2## (mate-in-1 requiring L1(d#) to defend) — only a check that also removes their threat saves you?
- An L4## (mate-in-2 threat) — two of their moves and you’re mated?
These are the four “must-respond” moves. If any of them is on the board against you, your capture is permissible only if:
- It also addresses the mate threat (captures the attacking piece, blocks the line, removes a critical CAB), OR
- You have a loaded L1(d#) — a check that buys tempo and removes one of their mate threats.
If neither applies, address the mate threat first. Material gain is irrelevant if you don’t survive the next two moves.
This is the check you skip most often when you’re “winning.” You see a piece hanging, your eyes lock onto material, and your opponent’s slow mate threat in the corner of the position becomes invisible. Don’t.
Check 2 — Material Clearance
Question: Does the opponent have an against-self L3 (capture threat) against one of your pieces of value greater than or equal to the capture you’re about to make?
If they do, your capture is permissible only if your net gain — the value you capture, minus the value you lose to their retaliation — exceeds their L3 cost. Apply the Cross-Track Priority rule directly.
Example: you’re about to take their bishop. They have an L3 against your rook. Your gain = bishop (3). Your loss = rook (5). Net = −2. Don’t take the bishop — address the L3 against your rook first.
Counter-example: you’re about to take their queen. They have an L3 against your knight. Your gain = queen (9). Your loss = knight (3). Net = +6. Take the queen; accept the trade.
This check is the “do the arithmetic” check. Most players do it intuitively when the values are obvious (queen vs pawn). They skip it when the values are close (bishop vs knight, two minor pieces vs rook+pawn). Walk it explicitly.
Check 3 — Horizon Truncation
Question: Are there any opponent threats at L5, L6, L7, or higher that worry you?
Answer: Ignore them.
Threats chained three or more moves from execution are outside the calculation horizon. They are real — they exist in the position’s relationship matrix — but they do NOT gate your capture. You have multiple moves to prepare a defense, redirect tempo, or counter-threat before any L5+ escalates into a horizon-relevant tier.
The skip pattern here is over-cautious play. Players see an L6 chain pointing at their king from across the board and freeze, refusing to capture because “what if?” — but the L6 won’t become an L4 until they’ve had at least one full move to respond, and the L4 won’t become an L2 until they’ve had another. You’re allowed to capture and then defend the line on your next move.
The horizon is the boundary between priority-rule territory (must compare, can’t ignore) and structural-layer territory (can defer, will address). If the threat is outside the horizon, it’s the structural layer’s problem, not the capture decision’s.
The Two Failure Modes
A Process Audit on a failed capture-for-material almost always reveals one of two skip patterns:
Skip A — Mate-Tier Oversight. The player ran Check 2 (material clearance) but skipped Check 1 (mate-tier). They confirmed the material was favorable, took the piece, and got mated in two. This is the most common adult-improver blunder. The defense is rigor on Check 1’s order: mate first, material second, always.
Skip B — Horizon Overextension. The player ran Checks 1 and 2 but extended Check 3 to include L6+ threats. They didn’t take a winning piece because of a remote relationship that would have taken the opponent three moves to escalate. Result: missed material, gradually got outplayed positionally. The defense is internalizing the horizon: if it’s L5+, it’s not a clearance issue.
Both skips are eliminated by walking the protocol in order, explicitly, on every capture for the first few weeks of practice. It feels slow at first. Within a month, the protocol runs in the background — your eyes scan for the four must-respond patterns automatically before your hand moves the piece.
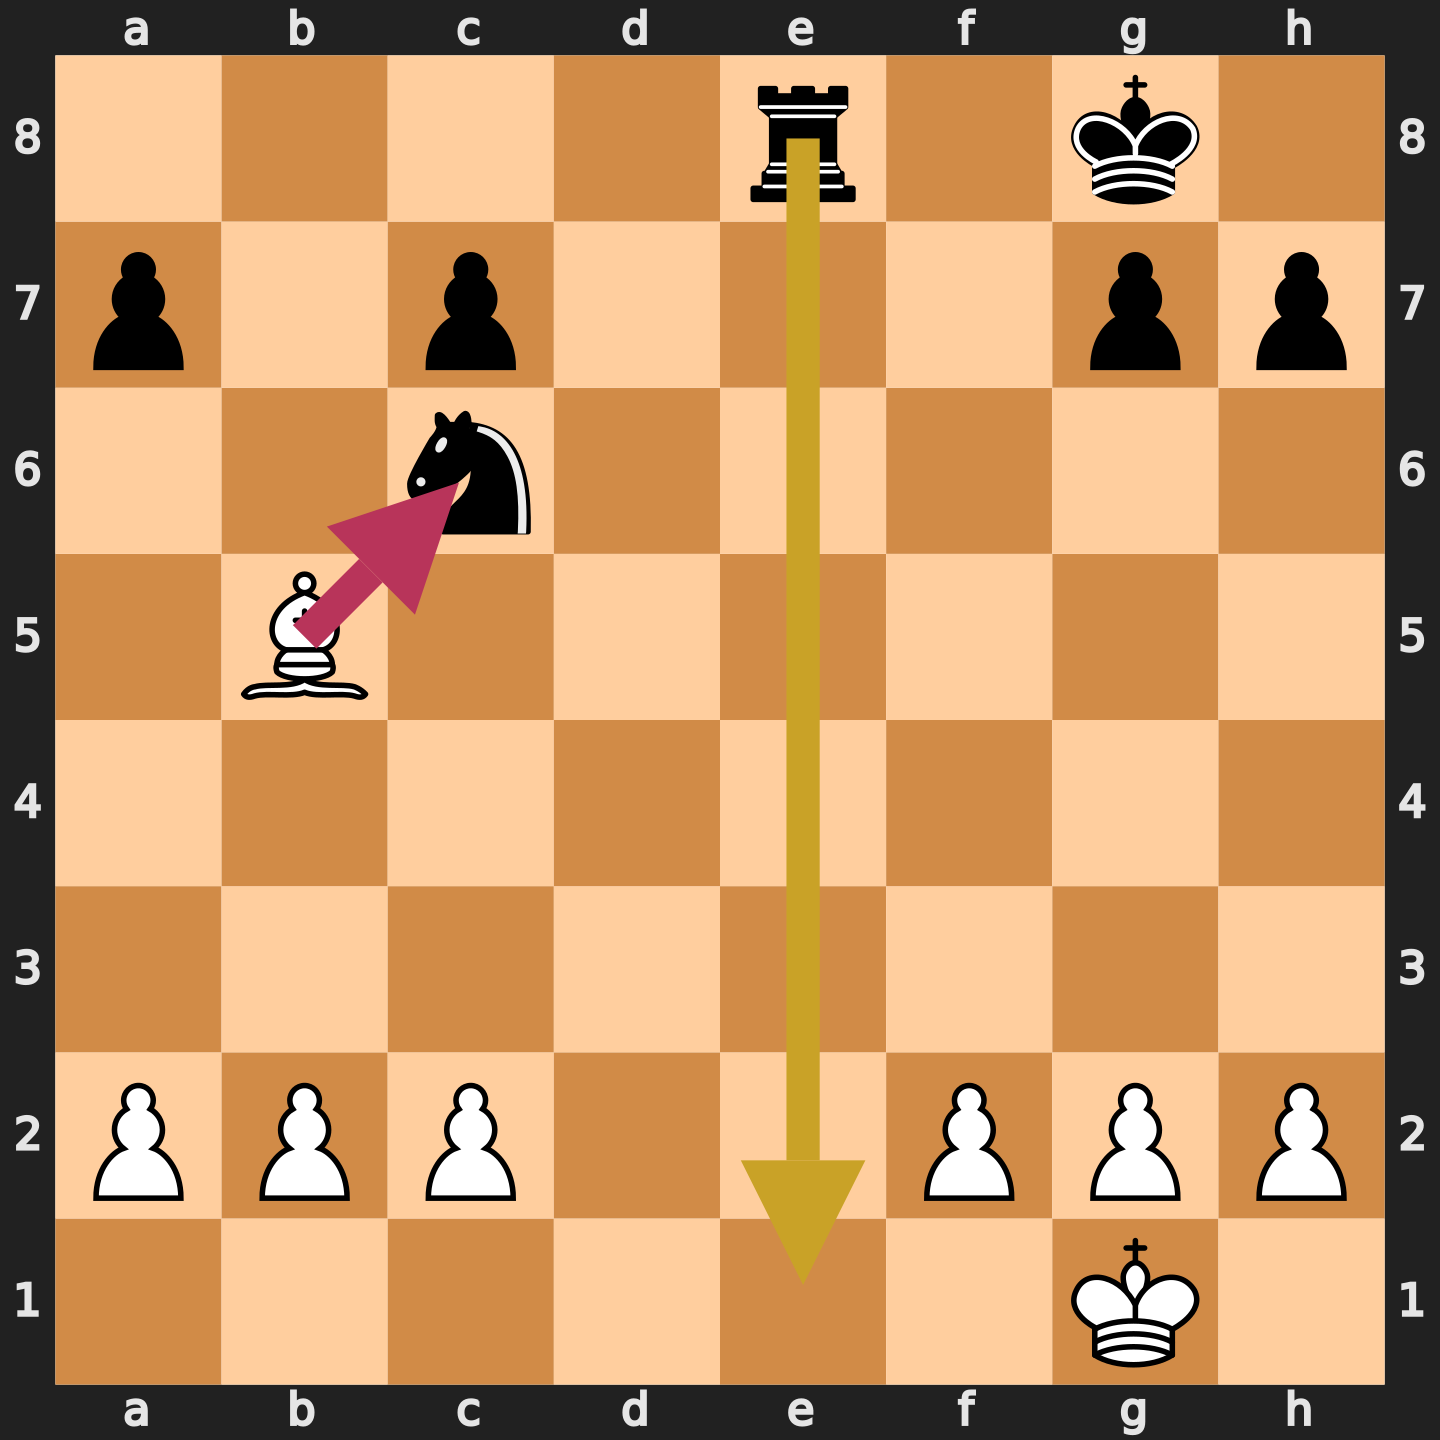
A Worked Example
White to move. White sees that Bxc6 wins an undefended knight — a clean +3 in material. But the position has a hidden problem: white’s king is trapped behind the f2/g2/h2 pawn shield with no luft, and black’s rook on e8 has an open file to e1.
FEN: 4r1k1/p1p3pp/2n5/1B6/8/8/PPP2PPP/6K1 w - - 0 1
The naive analysis: “Bxc6 wins a knight. Net +3. Take it.”
The protocol:
- Check 1 (mate-tier): Black threatens L2# via 1…Re1#. From e8 the rook has a clean path to e1; once it arrives, the white king can’t capture (out of range), can’t block (no white piece can reach f1 in one move after Bxc6 — the bishop’s only diagonal to f1 ran through b5, and we just abandoned it), and can’t move (all flight squares occupied by white pawns). Bxc6 does NOT address this. Do you have an L1(d#) loaded? No. Check 1 fails.
- Decision: Don’t take the knight. Defend the back rank first —
h3creates luft (a Kh2 escape square for after any future check), orBf1preemptively interposes on the king’s defensive line (after any subsequent …Re1, white recaptures with Bxe1).
This is the canonical “you were winning a piece and missed mate-in-one” failure. The protocol catches it because Check 1 fires before Check 2 — you never get to “is the knight worth more than what I’m losing?” because mate is final.
Internalizing the Protocol
Three drills, in order:
-
The “always Check 1 first” drill (1 week). Before every capture in your online games, read the four must-respond patterns aloud: L1, L2#, L2##, L4##. If none, proceed. If any, address first. Time yourself. The first day you’ll feel slow; by day three the check is automatic.
-
The “value math” drill (1 week). For every Check-2 borderline case, write the arithmetic out. Bishop (3) for knight (3) = even; allow opponent L3 against rook (5) = bad trade; abort. Make the math explicit until it runs in your head.
-
The “ignore L5+” drill (1 week). For every capture where you hesitate due to a long-horizon threat, identify whether it’s L5+. If yes, take the capture anyway. Track results — you’ll find the L5+ threat almost never materializes inside the next 2 moves, and when it does, you handle it.
After three weeks the protocol runs implicitly. After three months you stop blundering on captures.
What’s Next
The Capture Clearance Protocol is one operational application of the Method’s Cross-Track Priority rule, which is itself derived from the Unified Outcome Theorem. If you want the full theoretical foundation:
- The One Outcome — the foundational theorem. Why every move on the board is progress toward king capture, and why captures are deferred king-capture progress.
- The Pre-Move Checklist PDF — the one-page printable that operationalizes the entire Method, including the capture clearance check.
- The Skip Pattern Diagnostic — six questions to identify which step of the Method you skip most often. If your archetype is Collector or Hunter, the Capture Clearance Protocol is your specific weak point.
Most blunders are captures. Most captures are blunders because the clearance protocol wasn’t run. The Method makes the protocol explicit. The rest is rigor.
This article is part of the Layer 2 vocabulary series on ChessLogic.io. For the full glossary of Method terms, see /glossary/. For more on captures, see Captures as Threat-Grid Operations and Capture Execution (X).